Sick Leave – PowerApp give away
Some time ago, me and my colleagues did a hackaton in the Power Platform, building an App in PowerApps to handle sick leave. The idea is simple. You find yourself suboptimal, as Nathan W Pyle would have put it, and it’s time to inform your colleagues of your absences in the upcoming days.
My new colleague Mathilda made some final touches to the interface and now it looks kind of nice! Any management consultant would tell you that “If you’re good at something, never give it away for free”. What I’ll do in this blog post is giving the app away for free. I like to think of this as kindness and perhaps even a bit rebellish rather than evidence of my lack of goodness at Power Apps making. Let’s get to it!

What does the App do and how to install it?
Well first of all you need the actual app. The Zip-package can be downloaded from here!
Next thing is you need the set up a cozy environment for your new app. It uses a SharePoint list to save the settings for users (what calendar to default to, which checkboxes to be default (same as your last time you used the app) and which contacts to send information to about your illness). Consider this when installing the app. Is this going to be used by your whole organization? Put the list somewhere everyone will have access. Is it going to be used by a smaller group? Set it up in a Team site behind a Microsoft Team that all the users already have access to.
Installation steps
Setting up the SharePoint lists
Create a SharePoint-list to store the settings for users using the app. Name the list “Settings”. We will also need a list named “Users”
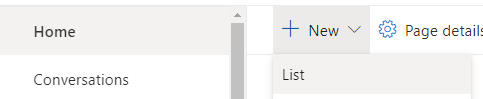
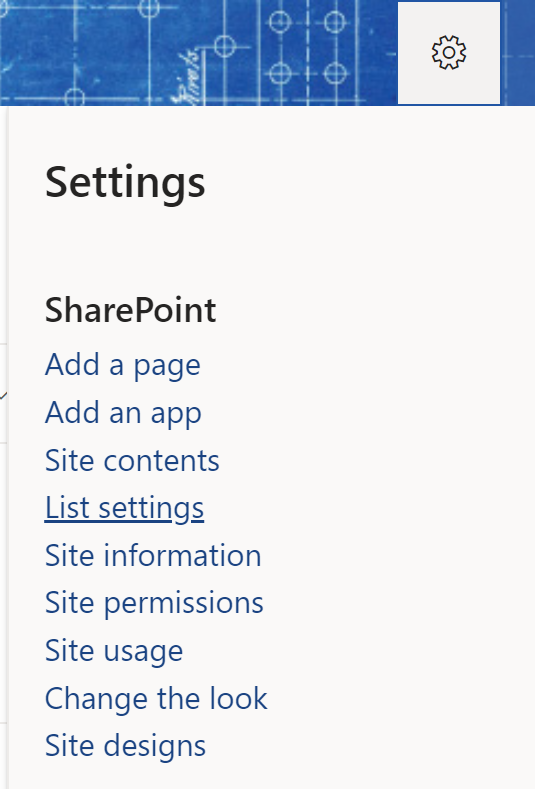
For both the lists, remove the requirement of the Title field. While in the list, click on List settings
Then click on the name Title under Columns on the left.

Select No for the Requirement of information in the column.

In the Settings list, create these columns as type Boolean (Yes/No).
- SettingOof
- SettingMeddelaKontakt
- SettingCalendarBlock
- SettingOrganizer
(A bit of swenglish never killed anyone).
Next create 3 columns as single line of text:
- SettingDefaultCalender
- SettingCalendarName
- SettingUserName
It should look something like this when you’re done:

For the User list, we only need 2 columns. Both should be single line of text. Name them like this:
- UserName
- UserContacts
It should look like this when you’re done:

Importing and configuring the PowerApp
Now go to make.powerapps.com to install the app! Go to Apps in the menu on the left and click on “Import Canvas app” on the menu at the top.

Select the zip-file that you downloaded before. Click on Import at this screen.

When you find yourself having the sick leave app in the list, pop the champagne and make a celebration toast! Just a small one though, before we’re done, head into edit mode of your app like this:

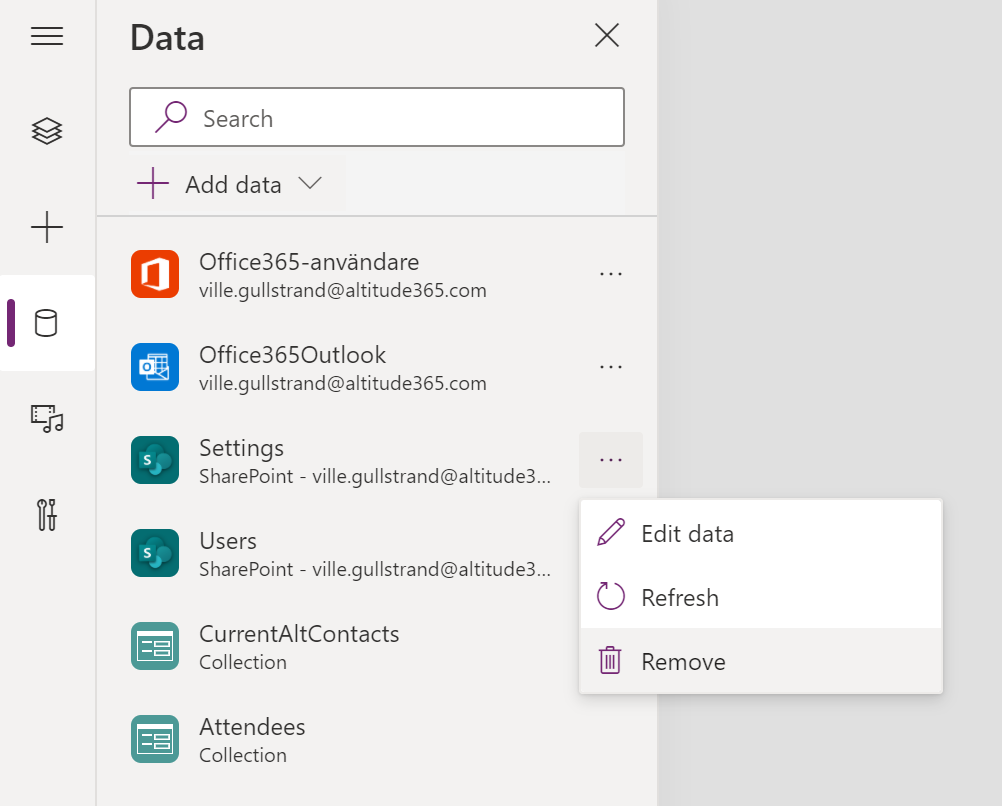
Make your way to the source view and remove both the Settings and the User SharePoint connections.
If you did the step above, you’ll find yourself with a rather broken app and perhaps you hate me a bit for tricking you like this. Fear not! We are about to fix what seemed fine, but was actually broken before. Click on the Add Data button and select SharePoint.
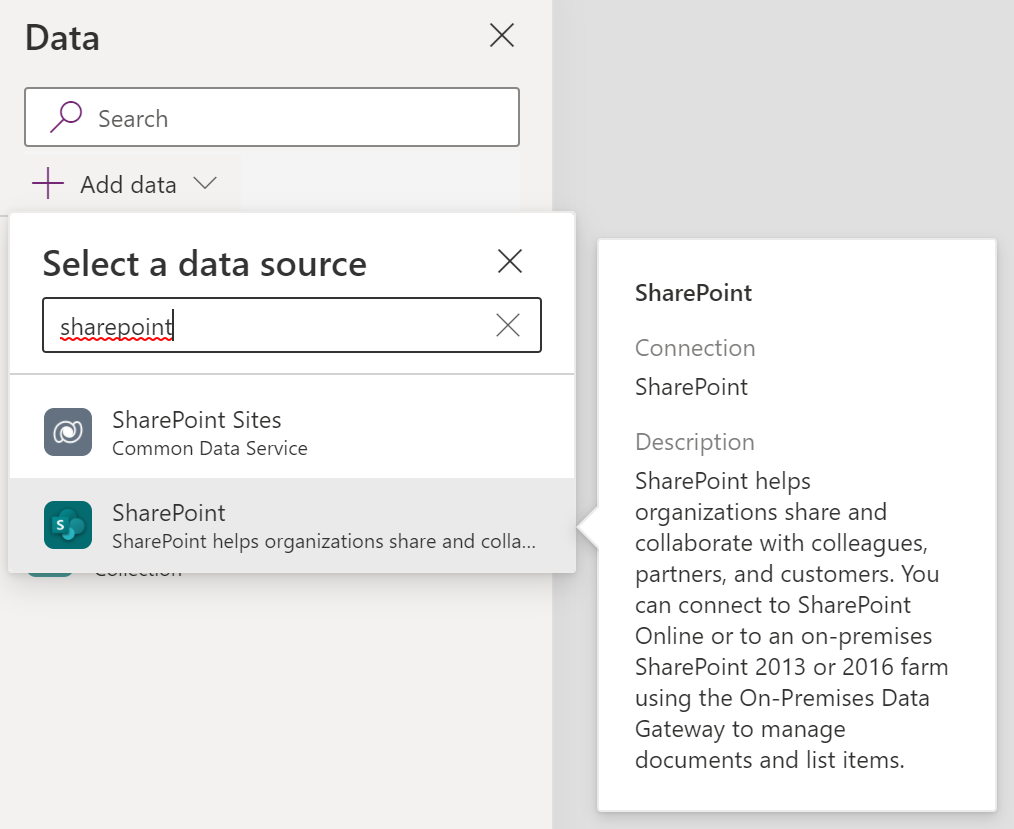
In the new view on the right, select the SharePoint site where you created your lists and finally select the lists too. If you named the fields correct before (as well as the names of the lists) you should find yourself with a fixed app!
That’s it! You’ve successfully set up the Sick leave app in your environment! Now save, publish and share!
How does the app work?
For first time users, they’ll be asked to select their default calendar. Many people have their birthday calendar as a separate calendar in Outlook for example and we only want to work with your primary one. Usually it’s just called Calendar. This setting will be saved in your settings row and can be changed at any time using the cogwheel at the bottom right of the app.
Use the slider at the top to select days you’ll probably be sick and therefore unavailable. The slider goes from 1-5 and if it’s before 17:00, 1 day of sickness means this current day. If it’s after 17:00, 1 day means tomorrow.
The app has 4 options. OOF means Out Of Office and it’s the same setting you can access in Outlook, it’s just that when you’re sick you might just want to report it in and go back to sleep. Better to use the app, right? Meddela mina kontakter is a feature where you can save a bunch of contacts to inform of your illness. Perhaps you manager and some close colleagues? The “Blockera min kalender” will create a block in your calendar that streches from 08:00 on the first day of illness until 17:00 of the last day. The block is of the type “Out of office” so even without the out of office message, you’ll be purple in Teams meaning your unavailable. Neat! Lastly you might want to inform the organizers of meetings you were supposed to attend.
Selecting “Gå vidare steg för steg” will bring you to details screen of anything you’ve checked in. Blocking the calendar is instant though so selecting that option and clicking the “Gå vidare steg för steg” will actually block your calendar.
Select the “Klar – Sjukanmäl mig tack” disregards any checkboxes and simply does all of them, including informing everyone attending any meeting your part of in the amount of upcoming days you’ve selected. You will get to a confirmation screen first though.

If you selected the OOF checkbox and went on step by step, you’ll find yourself on this screen. You need to provide a reason for your absence and it will create an out of office message for you. Feel free to customize this as you see fit!
Unless you provide a reason, you can move on.
On the screen where you can send info to the contacts of your choosing, search for them in the list, add them with the plus sign and they’ll pop up in the list. When you click “Gå vidare”, the email is sent from you to them. In this example, I’ve selected Mathilda and Magnus, the co-authors of the sick leave app!

And lastly, if you went on directly to simply call in sick, this is the confirmation screen so that you have to accept what will happen before it actually does.

And that’s all there is to it!
Feel free to install the app, make changes to it, improve it, provide feedback to me on what you have done or if you need any help doing the changes you have in mind!
Cheers!
Great – I should certainly pronounce, impressed with your site. I had no trouble navigating through all tabs and related information ended up being truly simple to do to access. I recently found what I hoped for before you know it at all. Quite unusual. Is likely to appreciate it for those who add forums or something, site theme . a tones way for your customer to communicate. Excellent task.
I simply couldn’t depart your site before suggesting that I actually loved the standard info an individual provide for your visitors? Is going to be back frequently in order to inspect new posts.