Images in PowerApps using SharePoint list
Back story
I’ve been struggling to create this PowerApp where you can add stuff you want to trade or just give away since there doesn’t seem to be an easy way to make use of pictures. I’ve read some bloggposts about the matter but in the end, me and https://twitter.com/GoranssonMagnus came up with our own solution that we really liked!
We store the Binary code as a multiline value in the SharePoint list and then simply generate the image in the PowerApp.
I have the app in Swedish, sorry for that, but I’ll break it down for you and I might create another blog post about the entire app. For this one, I’ll focus on the image part. If anything seems messy, just get in contact with me on Twitter or LinkedIn and I’ll be happy to explain!

The purpose of the app is to trade stuff with one another. There are three views:
1. Stuff you might want
2. Add new stuff you want to get rid of
3. Change something you’ve added
Each thing has a name, a description, an image, a place for pickup and finally a current owner.
How to store the image as binary in the SharePoint list
Start by create a list in SharePoint and add a multi line column. Give it a name and set the number of lines for editing to something high, like 1000. We’ll be adding the binary for the images here so we need some space.

Next up, create a flow that will store the information from your PowerApp to SharePoint. The trigger is “Instant” from PowerApps and the only next step could be “Create Item” in SharePoint. Select your list.

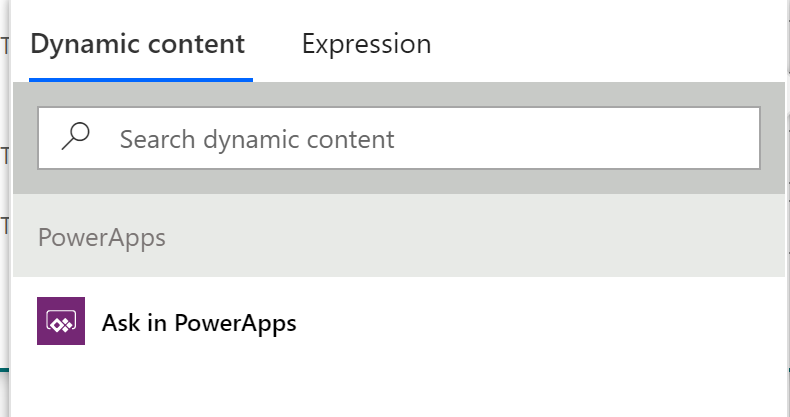
On each column field, choose “Ask in PowerApps”.
Get yourself into PowerApps! In my case, I’ve created this form in which you can add new stuff to trade or just get rid of. You’ll need the media “Upload Image”, some text inputs to describe whatever you want to put into your SharePoint list and a button that we will use to trigger our flow that we created above.

Select your button and go to Action in the menu. Click on “Power Automate and in the new menu on the left, choose your Flow from Power Automate.

You’ll be transfered to the forumla bar and it’ll say something like this:
<Flow name>.Run(You now get to fill in what will go into each field in your flow.
Above this row, paste these two lines. They will create two variables and the most important one is the second one. That’s the one you will add to your flow as input for your image column. The variables name is ImageBinary.
Set(ImageBinaryRaw, JSON(UploadedImage1.Image , IncludeBinaryData));
Set(ImageBinary,Mid(ImageBinaryRaw, Find(",", ImageBinaryRaw)+1, Len(ImageBinaryRaw)-Find(",", ImageBinaryRaw)-1));
Note that my image uploader is named “UploadedImage1”. If you have a different name on yours you’ll have to change the name in the code above.
Upload a picture in your PowerApp and click the button. The flow will be triggered and send something like this to your SharePoint list. Nice picture, huh?

Back in your PowerApp, create a gallery with the SharePoint list as input. Select a layout that will show an image and select the image block. In the formula field, put in this line:
"data:image/jpg;base64," & ThisItem.ImageThis way, the PowerApp will use the binary of the image to generate the actual image. BOOM! That’s it, you’re done!
A pro compared to call for a stored image in SharePoint is that in this case, you’re using the SharePoint connector to fetch the image. This way you don’t have to worry about authentication against the storage where the file is stored.
A con of using this method seems to be the preformance. I haven’t tried this with a big number of images but I feel like the app is a bit slower when using this method.
Please feel free to reach out with any kind of questions!
I pay a quick visit every day some web sites and websites to read content, but
this website gives feature based posts.
I do agree with all of the ideas you’ve presented in your post. They’re really convincing and will definitely work. Still, the posts are very short for beginners. Could you please extend them a bit from next time? Thanks for the post.
I discovered your blog site on google and check a few of your early posts. Continue to keep up the very good operate. I just additional up your RSS feed to my MSN News Reader. Seeking forward to reading more from you later on!?